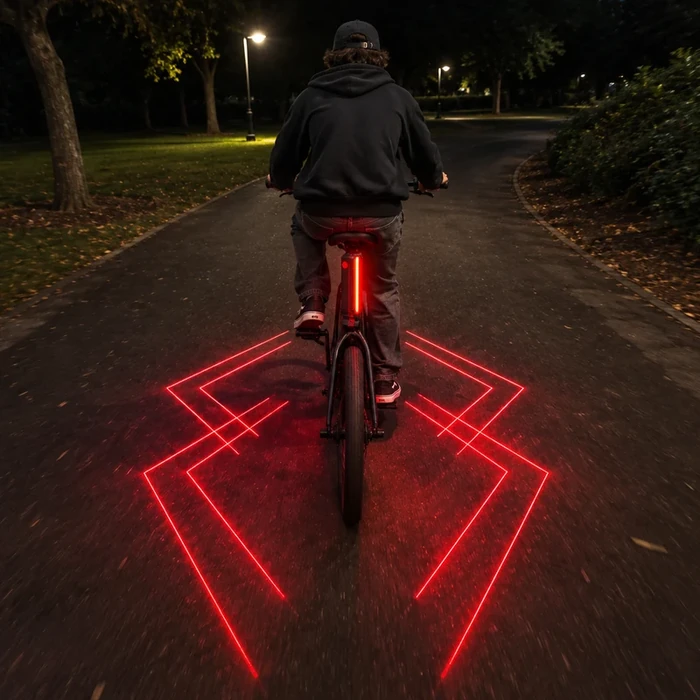
A pattern on the road
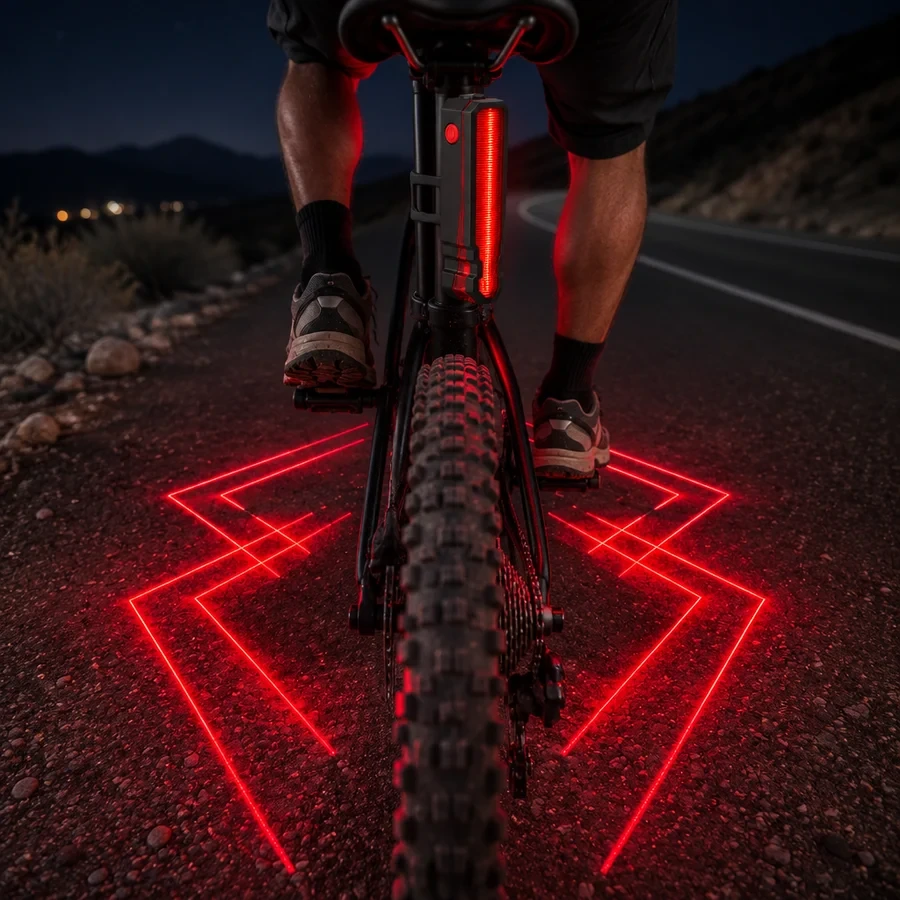
The laser projects a red pattern onto the ground behind your bike. It stands out most in low light.




Standard delivery is free for orders of €29.99 or more
Orders will be shipped within 48 hours

Secure Payment Protection

Data Privacy Protection

24/7 Customer Support
Why riders love it
A red rear LED and a pattern on the road, with separate controls in one light.
The laser projects a red pattern onto the ground behind your bike. It stands out most in low light.
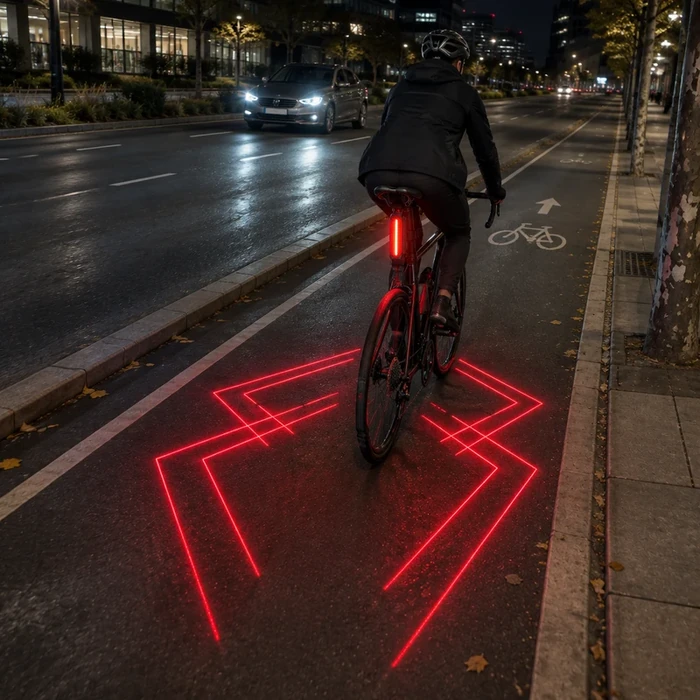
The rear LED marks the bike while the laser adds a red outline on the road.
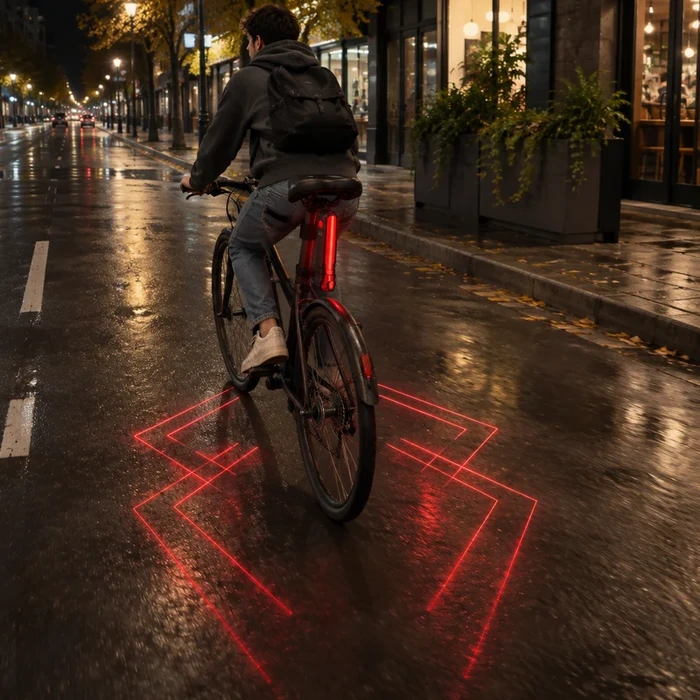
The product information lists IPX5 water resistance for the light housing.
The adjustable strap secures the light to a suitable mounting point. Set the angle before you ride.
How it works
Mount the light, set your modes and recharge it for the next ride.
Fasten the mount to a suitable point beneath the saddle. Set the light to face rearward and check that it holds firmly.
Use the separate buttons to control the rear LED and laser. Aim the projection at the ground behind the bike.
Use the included USB cable and follow the charging instructions supplied with the light.
For the ride home
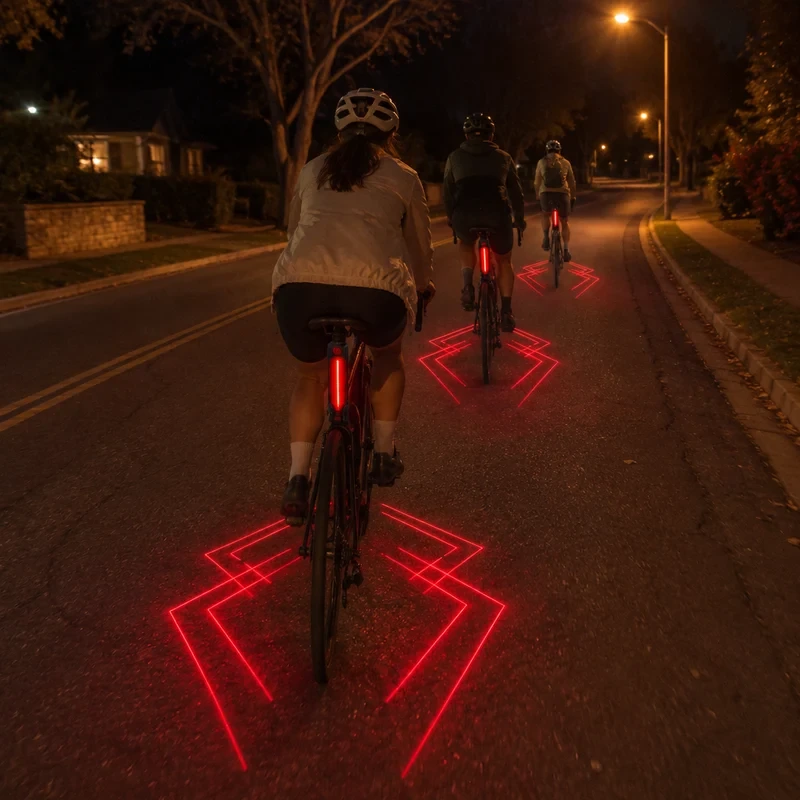
After dark, the rear LED marks the back of your bike. Turn on the laser to add a red pattern to the road behind you.
Why not a regular light?
A basic rear light shines from the bike. The PERFELY light also projects a red pattern on the road with its own switch.
| Feature | PERFELY | Regular LED light |
|---|---|---|
| Rear-facing light | ✓ | ✓ |
| Red pattern on the road | ✓ | × |
| Separate projection control | ✓ | × |
| USB charging | ✓ | Varies |
| Water resistance | ✓ | Varies |
FAQ
The red LED shines from the rear light itself. A separate laser projects a red pattern onto the road behind the bike.
One light projects its own red spider-shaped pattern. The appearance depends on the surface, the surrounding light and the mounting angle.
Use the supplied strap mount to fasten it to a suitable point beneath the saddle. Face the light rearward and check that the mount stays firm.
Fit depends on the shape and size of the mounting point. Check that the strap wraps securely around it and holds the light at the angle you need.
Use the included USB charging cable and follow the charging instructions supplied with the light.
The product information lists IPX5 water resistance. Follow the supplied care instructions, avoid immersion and let the light dry before connecting the charging cable.
The red pattern is easier to see in low light. Street lighting, the road surface and the angle of the light affect how clearly it appears.
Aim the pattern at the ground behind the bicycle, keep the beam away from eyes and follow the instructions supplied with the light.
Keep the lights and reflectors required where you ride. Treat the projected pattern as an additional visual cue.
Check the shipping information and review the delivery options for your destination at checkout.
See Delivery and Returns for eligibility and how to request a return.
Email support@perfely.com with your question. Include your order number if you are asking about a purchase.
loading